
October is the ideal time for creating pull requests. It is the time of the global event called Hacktoberfest. The idea of Hacktoberfest is simple – register and make a minimum of four pull requests to some open-source repositories. While it is encouraged to make quality pull requests that are going to help open-source maintainers, it’s also geared toward beginners and people who never created a pull request before. So if you have never created a pull request, it is the ideal time to start. Let’s begin.
What is a pull request
Pull requests are a very simple mechanism that makes the others aware of your changes. Pull request must be sent against the central repository and people who are official maintainers. Plus, other interested parties can review your changes, discuss potential modifications and even collaborate on the same pull request via follow-up commits.
A common use case is adopted by teams and organisations which collaborate using the Shared Repository Model. The main idea behind it is to use a single shared repository and make all changes via feature or develop branches. Changes introduced via feature/develop branches are completely isolated until they pass a rigorous review and testing phases to end up merged in master/production branch. Many open-source projects on GitHub use pull requests to manage changes made by contributors. They are useful in providing a way to notify project maintainers about changes that someone has made, as well as in initiating code review and general discussion about a set of changes before being merged into the main branch. One of the largest organisations using this kind of model is Symfony, and they are doing it so well that others can learn a lot from them.
Everything starts off with the fork
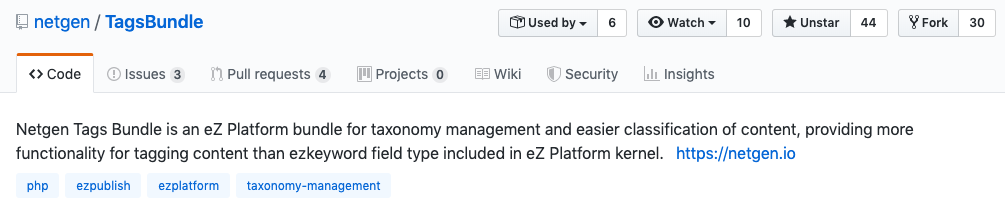
The first step in creating a pull request is actually forking a repository that you want to contribute to. By creating the fork you are basically copying the original repository into your own GitHub space. Forking a repository allows you to experiment with changes freely, without affecting the original project. This is necessary as you probably don’t have permission to create feature branches on the original repository. For the sake of this blog post, we are going to use our TagsBundle repository. So, log into GitHub, navigate to TagsBundle repository and click the Fork button in the top right corner. This will copy the TagsBundle repository from netgen/TagsBundle to yourusername/TagsBundle, or in my case to MarioBlazek/TagsBundle. I’m going to use my own GitHub username in the following examples, so just replace it with yours.
When you click the Fork button, a new screen should show up with the process of forking the repository.

When the forking process finishes, you should see a line saying: This branch is even with netgen:master. And that’s it, you are ready to rock.
Pull request is coming
Now when we own a copy of TagsBundle repository, we need to clone it to our machine. My suggestion is to always use SSH version of the remote URL rather than HTTPS. SSH is going to use SSH key for authentication instead of forcing you to enter your GitHub credentials every time you interact with the remote repository from the command line. The obvious prerequisite for the SSH step is to set-up SSH key locally and on GitHub properly.
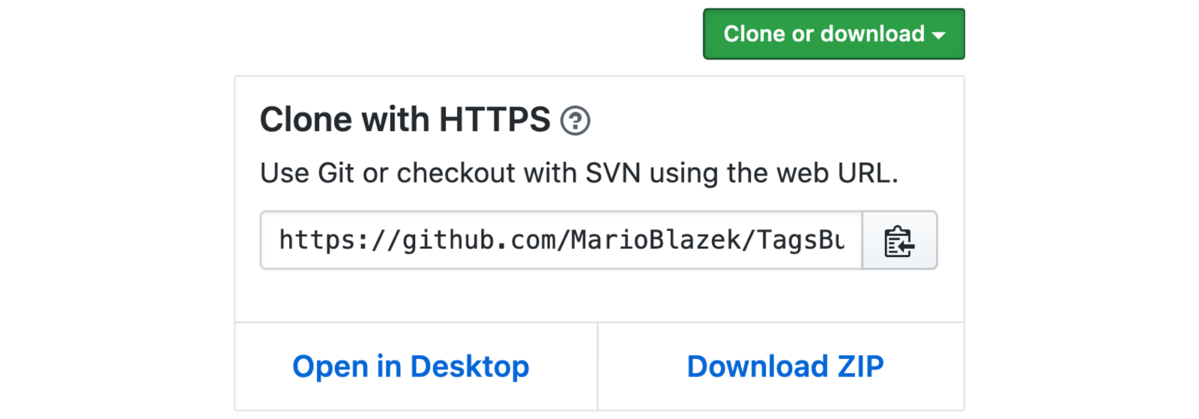
We have now arrived to the step where we can actually execute the git clone command to clone our fork to our local machine:
git clone [email protected]:MarioBlazek/TagsBundle.gitBefore doing any changes, check out the new feature branch and try to provide very descriptive naming:
git checkout -b feature_readme_changes_for_blog_postFor this educational purposes, we will only make some simple change to README.md file and commit the changes:
echo "This is some content added for testing purposes by Mario." >> README.md
git add README.md
git commit -m "Add some text to the end of README.md file"
Next, we need to push the feature branch changes to our fork:
git push origin feature_readme_changes_for_blog_postGitHub is smart enough to realize that we have changes in our feature branch and it will notify us to review the changes and do a pull request to the original repository.
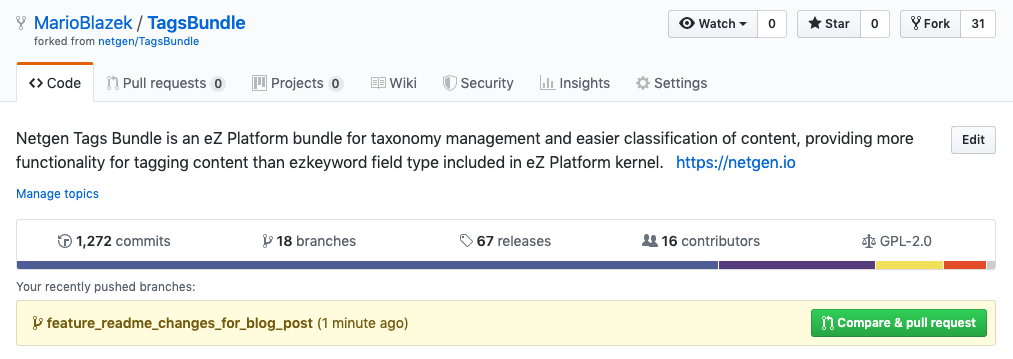
Click Compare and pull request button to open a pull request. Right after that, the new screen will show up where we should enter the pull request title and description, plus review our changes inside a very nice GitHub user interface diff tool.

Click the Create pull request button and wait for maintainers to review your pull request.
The review process
If there are any Continuous Integration services configured for target repository, GitHub is going to trigger them as soon as the pull request is created. Most commonly, it is going to be TravisCI, a free to use CI service for open repositories hosted on GitHub. TravisCI is a very interesting and useful tool – basically, it reads .travis.yml file that is initially configured by the maintainers. It’s probably going to run PHPUnit tests or some kind of static analysis, but it is not limited to that. I will prepare a follow-up blog where I will analyze Travis more deeply. In the case of our TagsBundle, we should see both TravisCI and PrettyCI being run.
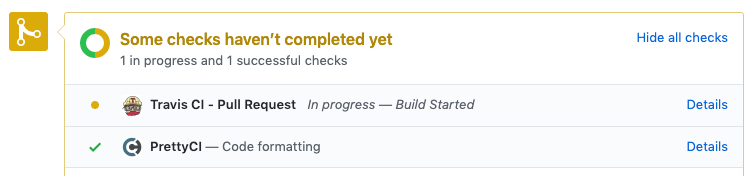
When both TravisCI and PrettyCI give the green light, pull request is ready to be merged – and that’s the ideal scenario. Most likely you will receive some feedback from the maintainers about things that need to be improved. In that case, just return to your local copy of TagsBundle and continue adding commits in the feature branch. In our case it is the feature_readme_changes_for_blog_post. When you are done, just push the commit back to your fork and pull request is going to be automatically updated, plus CI services are going to be triggered again:
git push origin feature_readme_changes_for_blog_postIn the meanwhile, someone maybe did some work and your pull request cannot be merged because of possible conflicts.
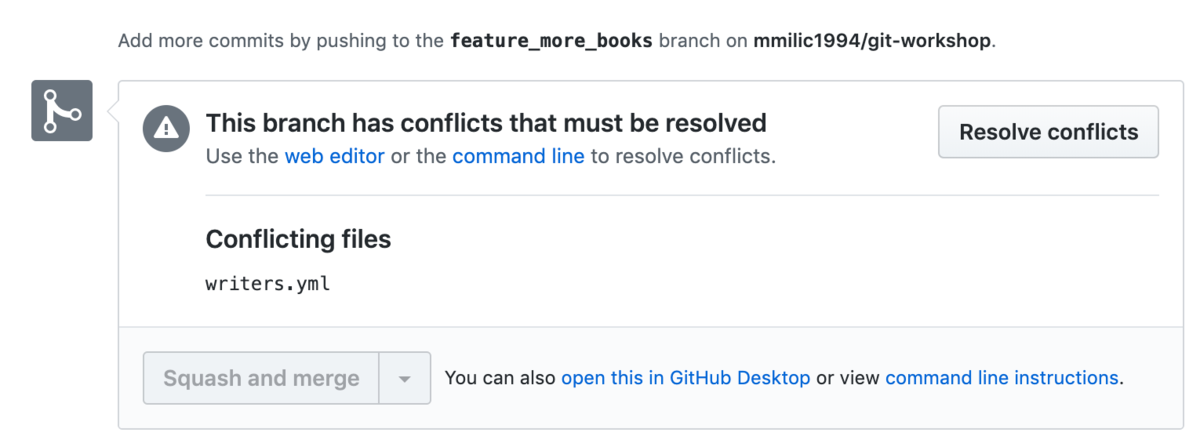
Probably someone who reviews the pull request will state that you need to rebase the pull request. Don’t despair at this moment and don’t try to resolve conflicts via the GitHub interface. I highly recommend to do it properly, by the git command-line tool. The first step is to open the TagsBundle on your local machine and add the netgen/TagsBundle repository as the upstream remote. We can check our list of remotes by:
git remote -v feature_readme_changes_for_blog_post
origin [email protected]:MarioBlazek/TagsBundle.git (fetch)
origin [email protected]:MarioBlazek/TagsBundle.git (push)
As you can see, we are missing the target repository, so let’s add it:
git remote add upstream [email protected]:netgen/TagsBundle.git

git remote -v feature_readme_changes_for_blog_post
origin [email protected]:MarioBlazek/TagsBundle.git (fetch)
origin [email protected]:MarioBlazek/TagsBundle.git (push)
upstream [email protected]:netgen/TagsBundle.git (fetch)
upstream [email protected]:netgen/TagsBundle.git (push)
Now we have two remotes – the origin which represents our fork and upstream which represents original and target branch. So, we can start with the pull request rebase process. Just follow these steps:
- Fetch the newest changes from the target repository (upstream)
git fetch upstream- Switch back to the master branch
git checkout master- Merge the changes from upstream/master into the local master branch. This step should go seamlessly without any conflicts and issues. If something pops up, it means you probably did something wrong
git merge upstream/master- Push the changes to your fork. GitHub interface should note something like This branch is even with netgen:master
git push origin master- Now switch back to the feature branch
git checkout feature_readme_changes_for_blog_post- Rebase the feature branch against the master branch and resolve conflicts if there are any. Here’s a simple guide about resolving conflicts. My advice is to read carefully what the git tool is telling you in the console
git rebase master- Finally, force-push the feature branch changes to the fork. This is one of the few times where using force-push is actually OK.
git push origin feature_readme_changes_for_blog_post -fAnd that’s it. GitHub is going to update the pull request automatically, trigger the configured CI services again and hopefully, maintainers will be happy with your contribution and merge the pull request.
What I’m going to do with my fork
At this point, you can delete the fork if you don’t plan to contribute more. If you have decided to contribute more from time to time, it is very likely that your fork is going to be obsolete. There are two ways of migrating this. A very easy way, which I don’t recommend, is to delete the obsolete fork and do the forking process again every time you plan to contribute. The second approach is more professional, but a bit more complicated. Here it is (just replace the TagsBundle with the target repo you want to contribute to):
- Set the target repository as upstream remove if you already don’t have it
git remote add upstream [email protected]:netgen/TagsBundle.git- Fetch the newest changes from the target repository (upstream)
git fetch upstream- Merge the changes from upstream/master into the local master branch
git merge upstream/master- Push the changes to your fork. GitHub interface should note something like This branch is even with ...
git push origin masterConclusion
We went from the process of forking the target repository to our GitHub space, did some changes and created a simple pull request. We showed how a pull request process works and described steps involved in rebasing a pull request. Finally, we inspected a simple maintenance guide for our fork and from now on we can have long-living forks without the need for deleting forks and going through the whole process of forking again. We used GitHub as a hosting platform, but these steps can be applied on Bitbucket, Gitlab or any other you can think of – probably with some GUI differences and other CI tools. In a nutshell, the whole process and commands required are going to be the same. Happy pull requesting!
Pull request made on TagsBundle is for educational purposes only, so please don’t practice pull-requesting there.
Of course, if you would actually like to contribute to TagsBundle, you are more than welcome.